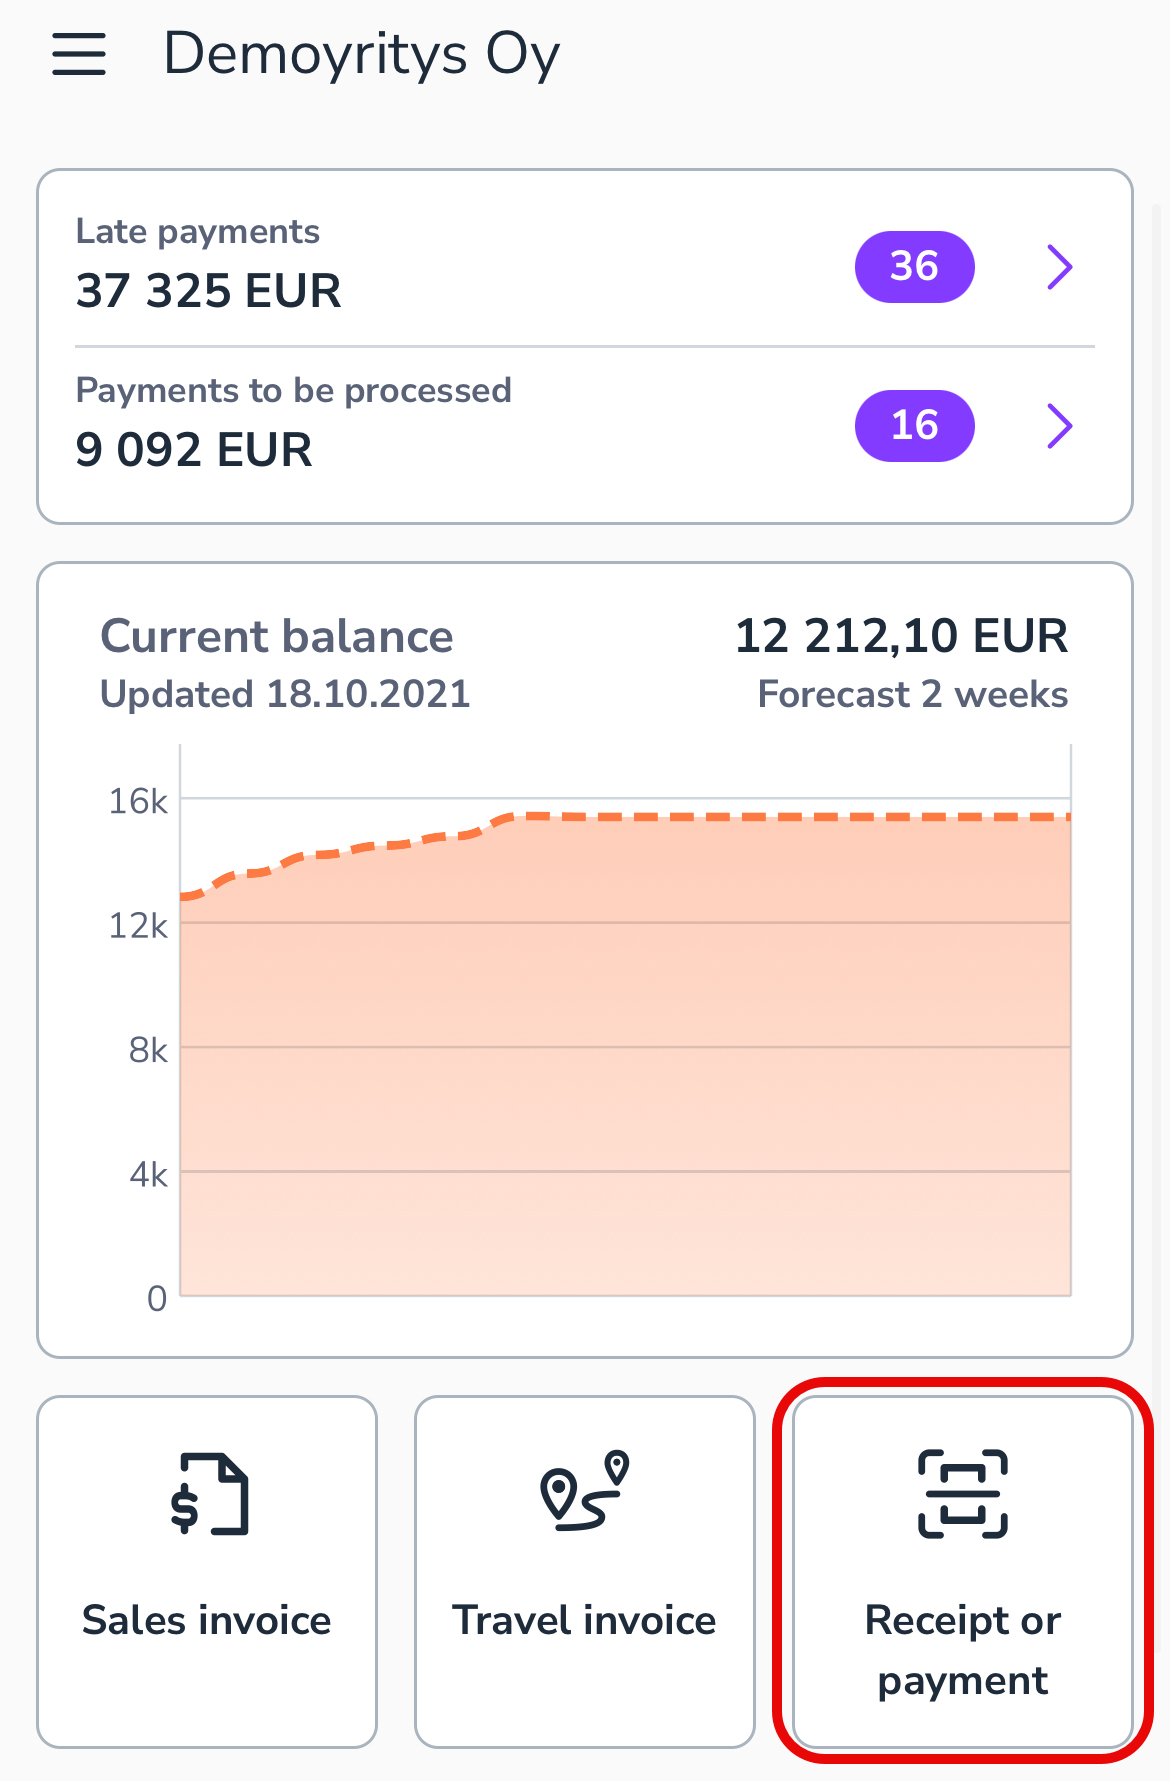
The Receipt or payment feature allows you to submit accounting material and create a payment from a paper or PDF invoice.
Submitting materials
- Select Receipt or payment from the Home page.
- Take a picture of the receipt with the camera or select the receipt from the phone’s gallery or files.
- Crop and rotate the image as needed.
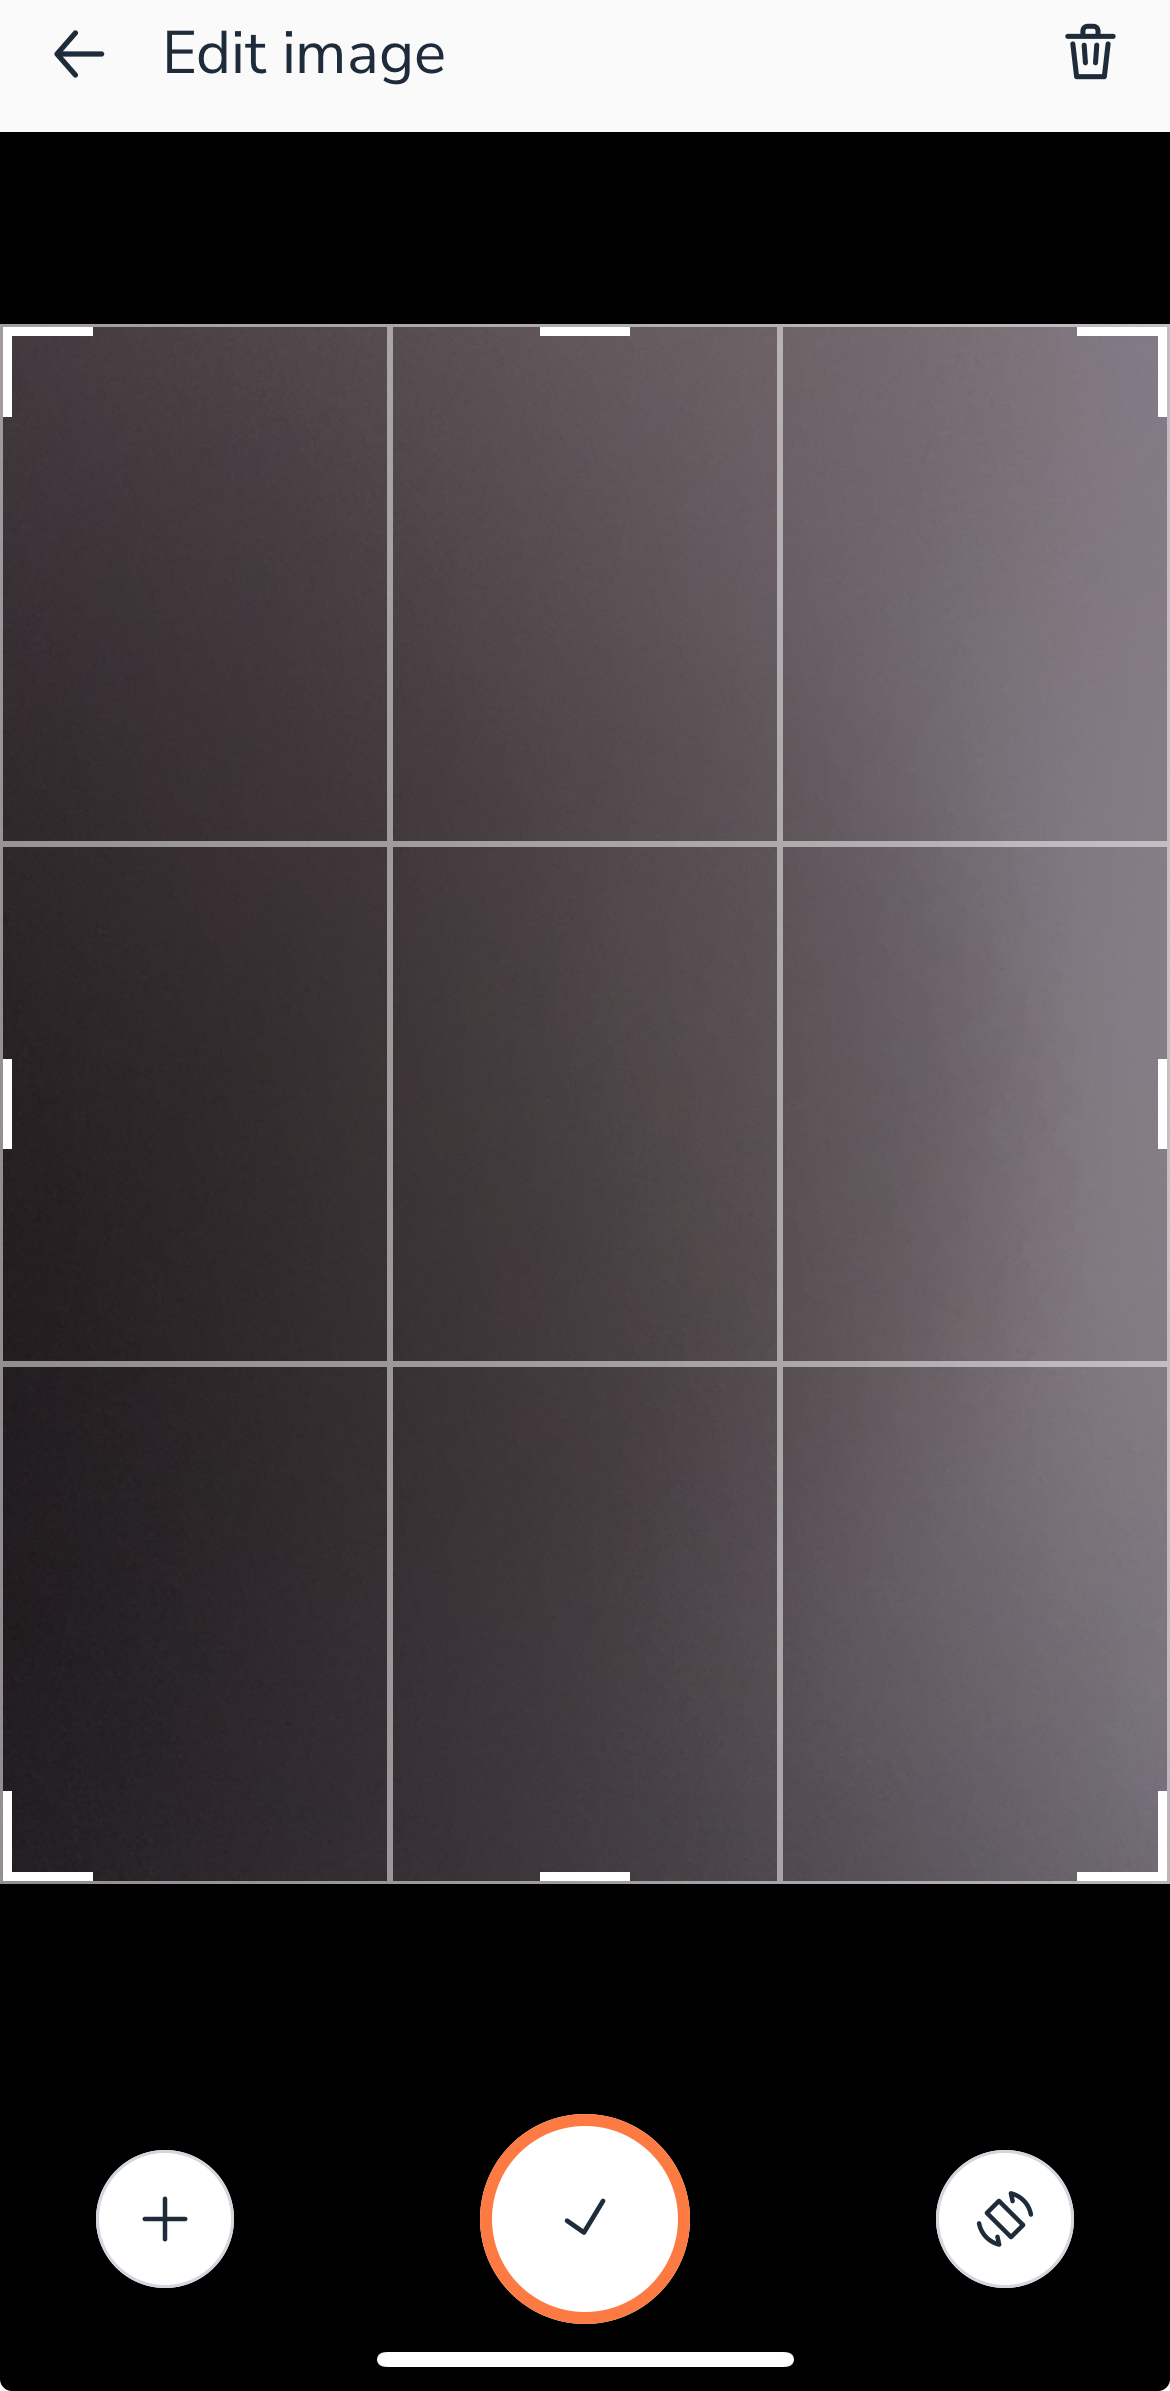
- Add more images with the + button.
- Accept the image(s).
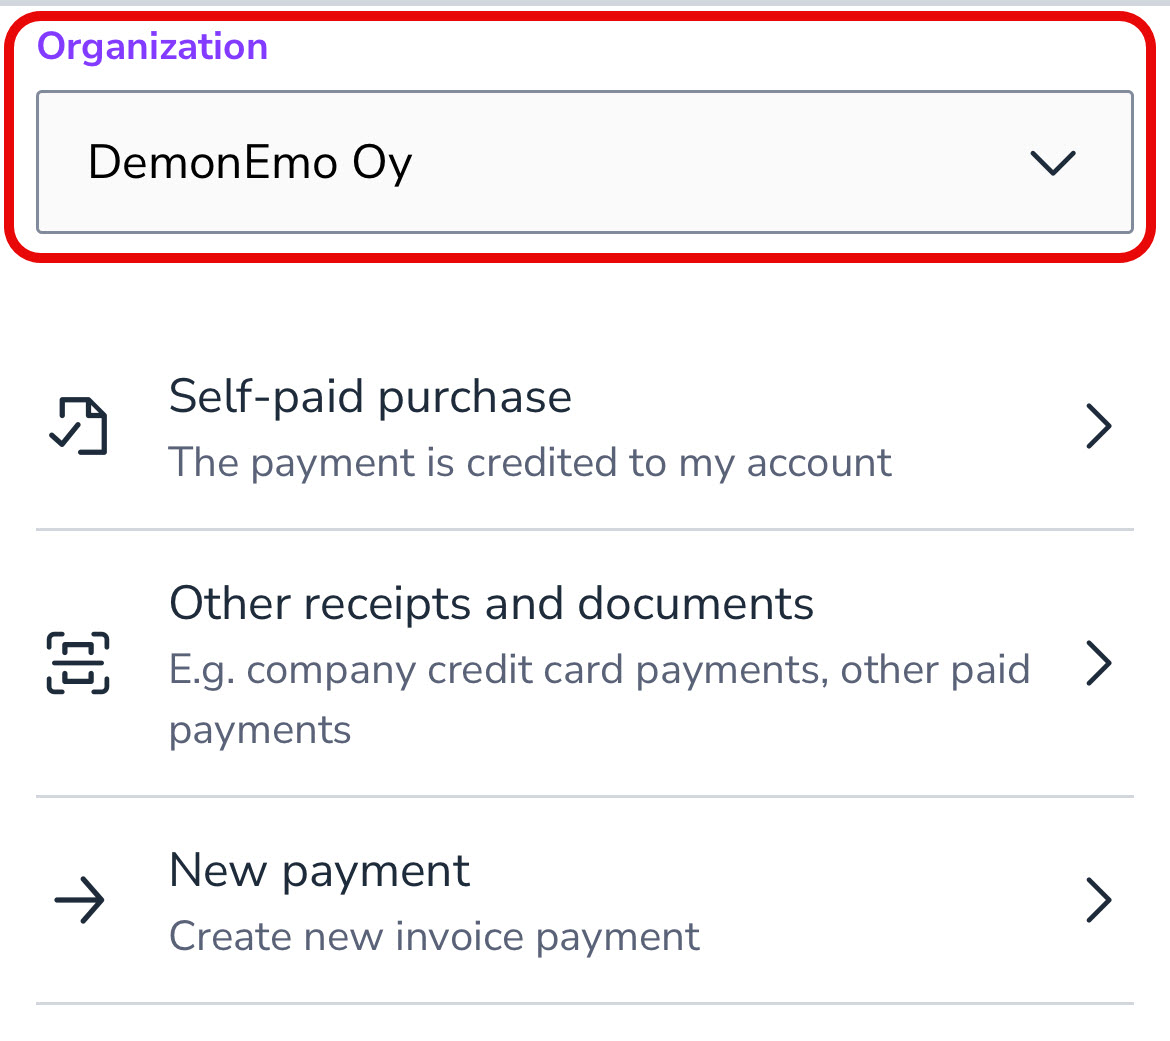
- Select the organization for which you are sending this receipt.
You can also share an image or PDF file directly from the phone’s gallery or files. Select Send (Android) or Share (iPhone) and select the Easor App from the list of applications. This will open the material submission view in the application, where you can select the organization and the type of material.
Sending accounting material
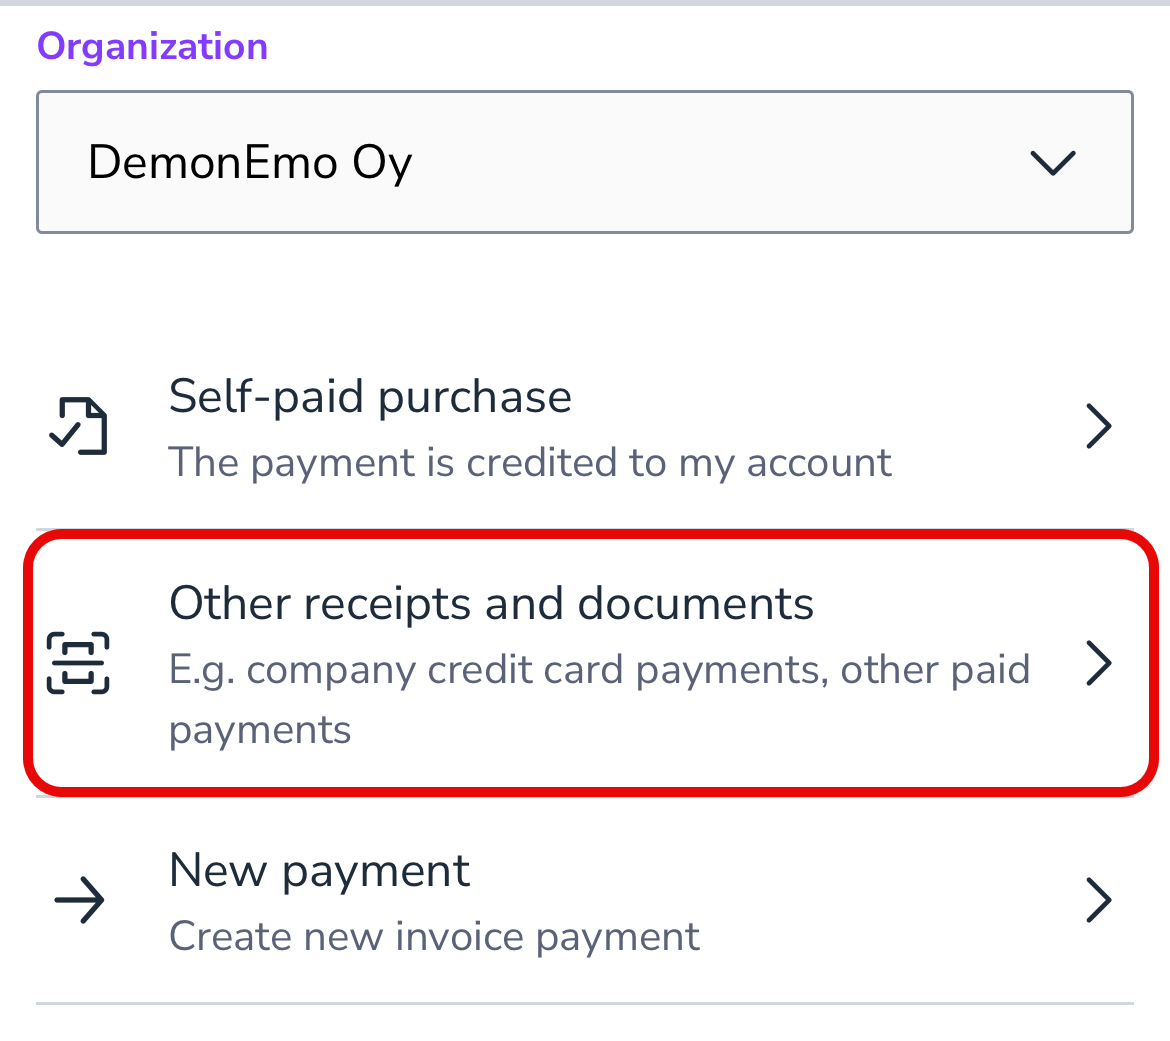
- After you have uploaded the image or file, select Other receipts and documents as the material type.
- Check the receipt details, such as amount, currency, and date.
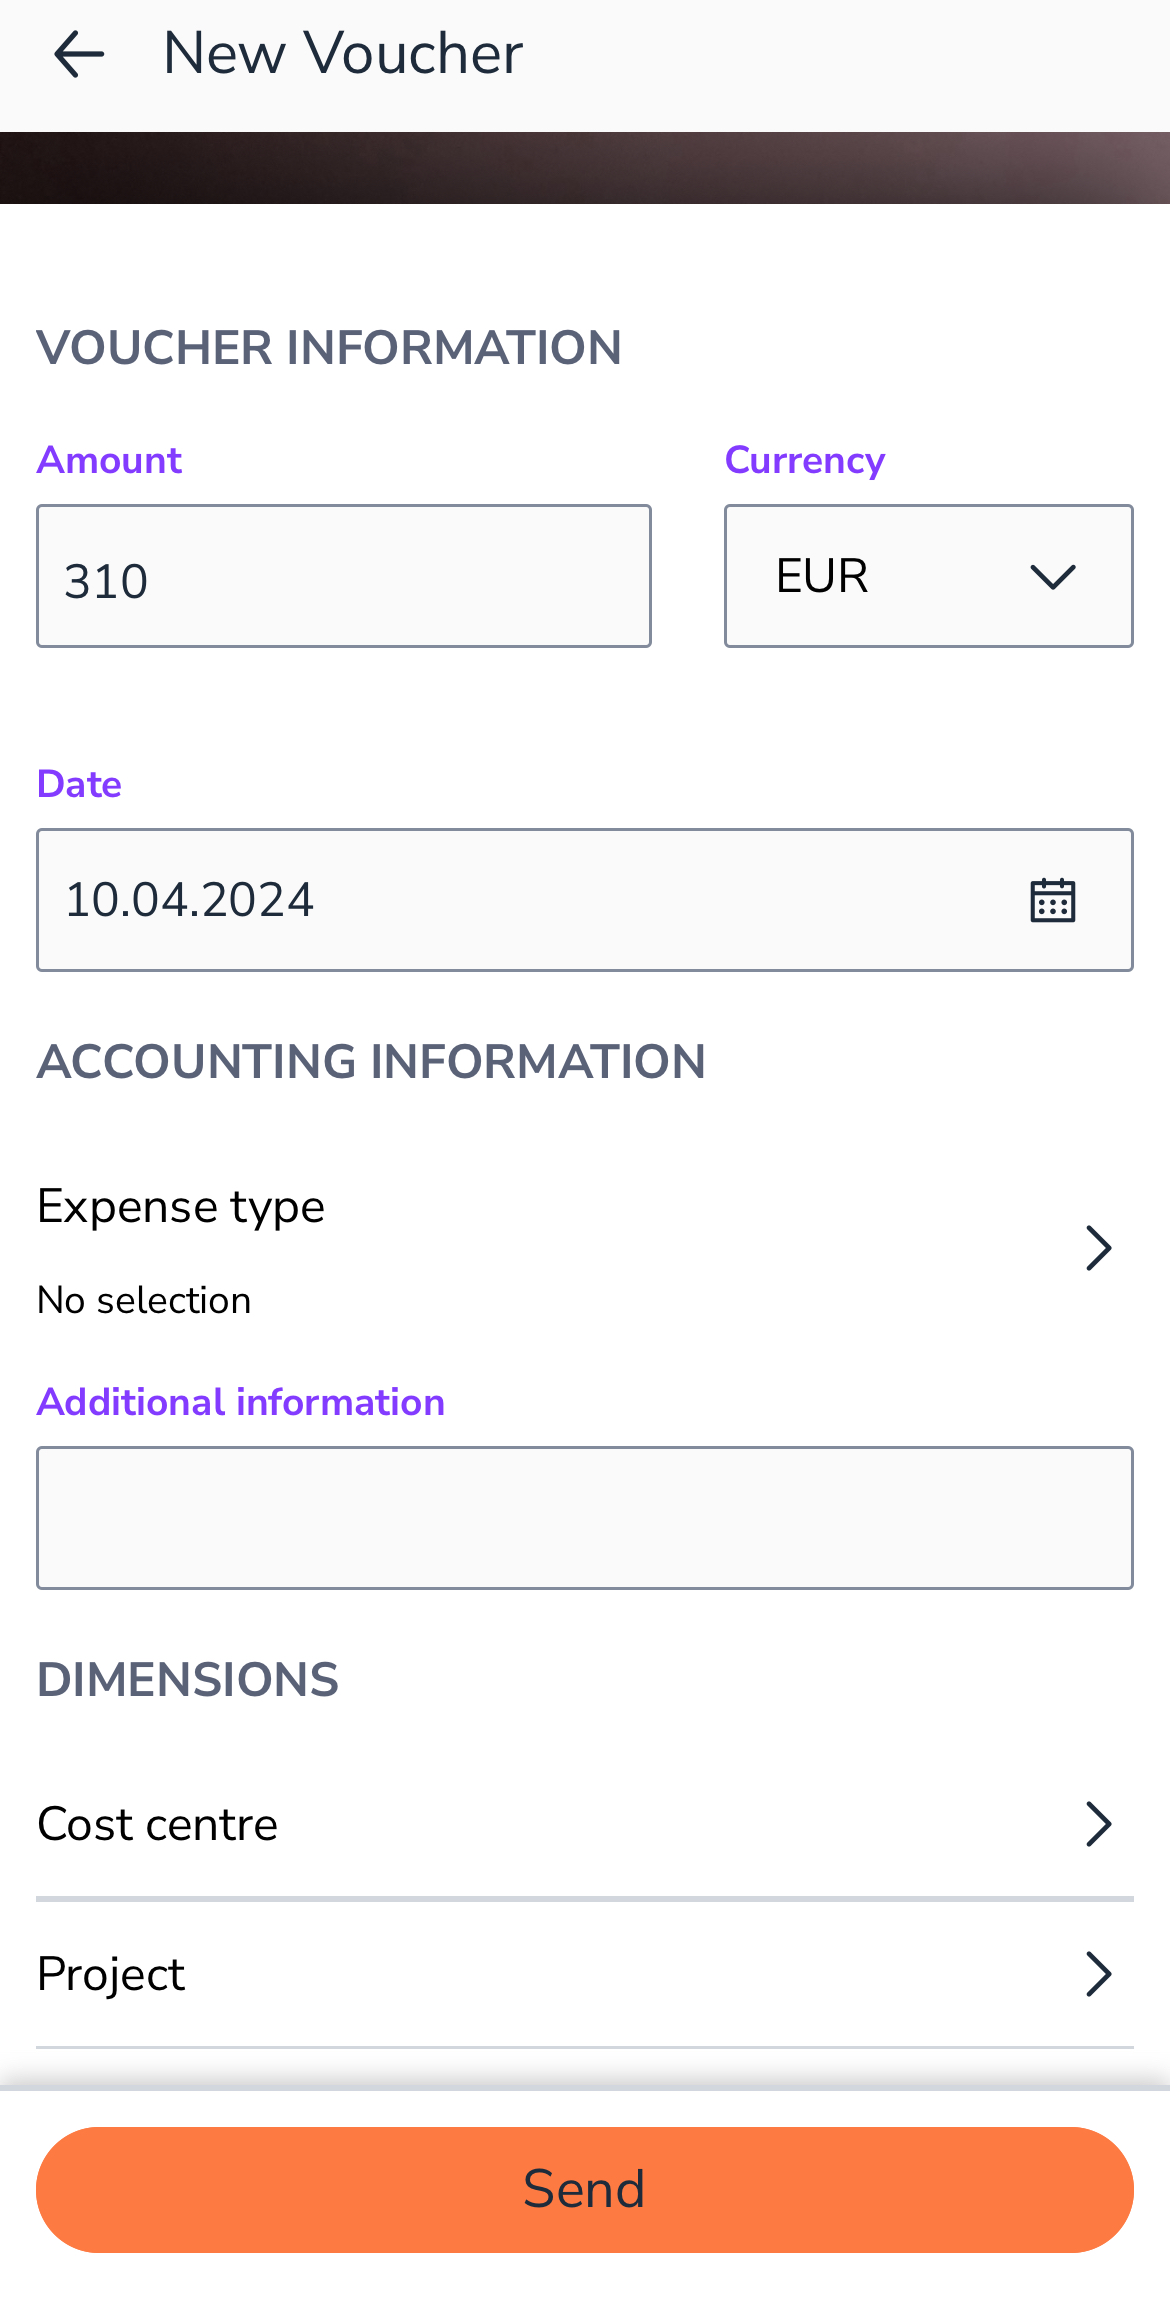
- Select either Expense type (e.g. entertainment costs or office equipment) or write a description in the Additional information field.
- Add dimensions (optional).
- Send the voucher.
NOTE! After sending the voucher, the operation cannot be canceled or modified. If an incorrect voucher has been sent to the accounting, you must contact your own accountant to correct the matter.
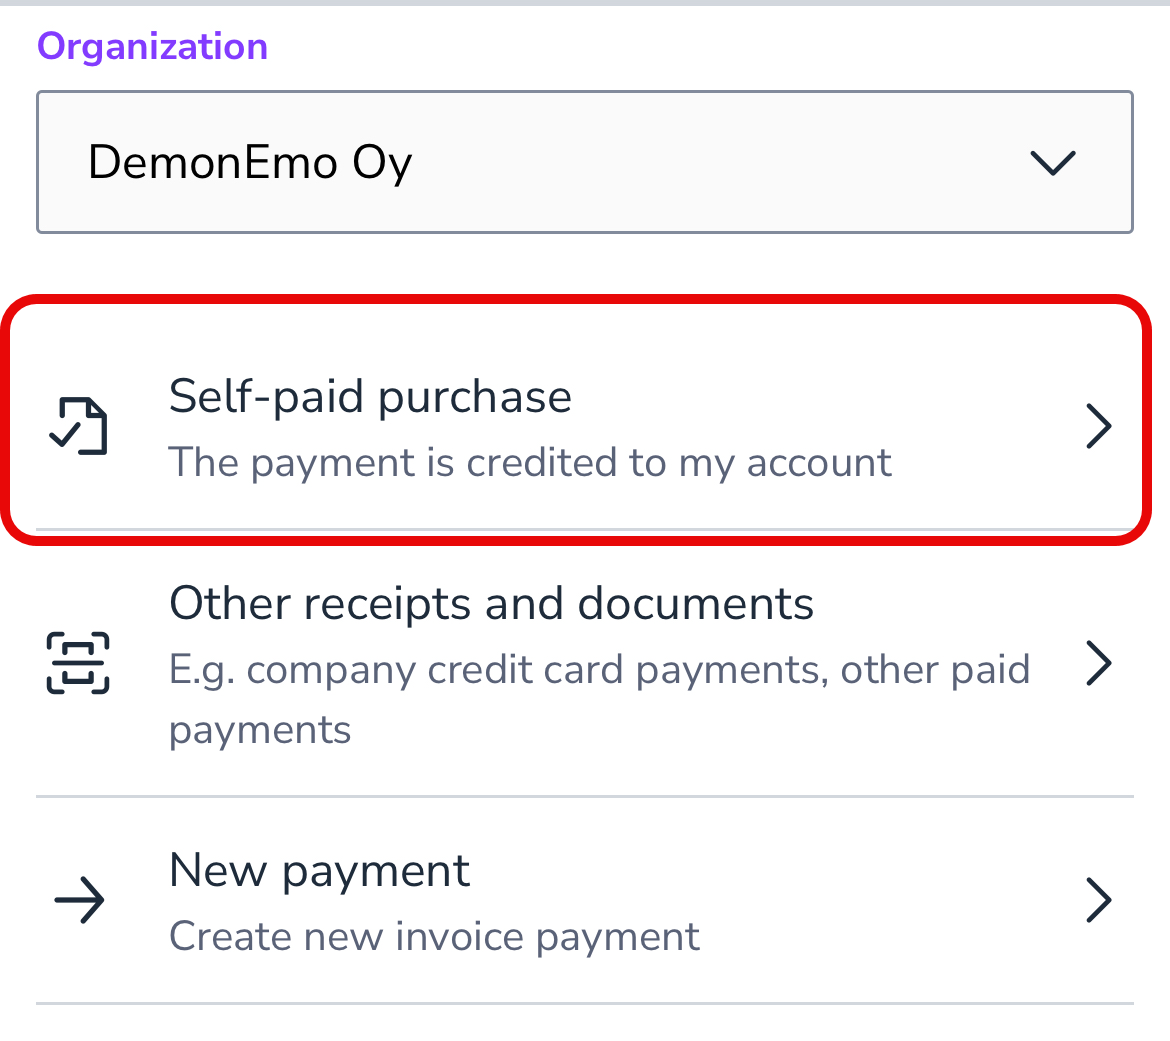
Self-paid purchase
A self-paid purchase is paid back to the user’s bank account. This feature requires that you have defined your account number (in IBAN format) in your user information on the Settings page.
- After you have uploaded the image or file, select Self-paid purchase as the material type.
- Check the receipt details, such as amount, currency, and date.
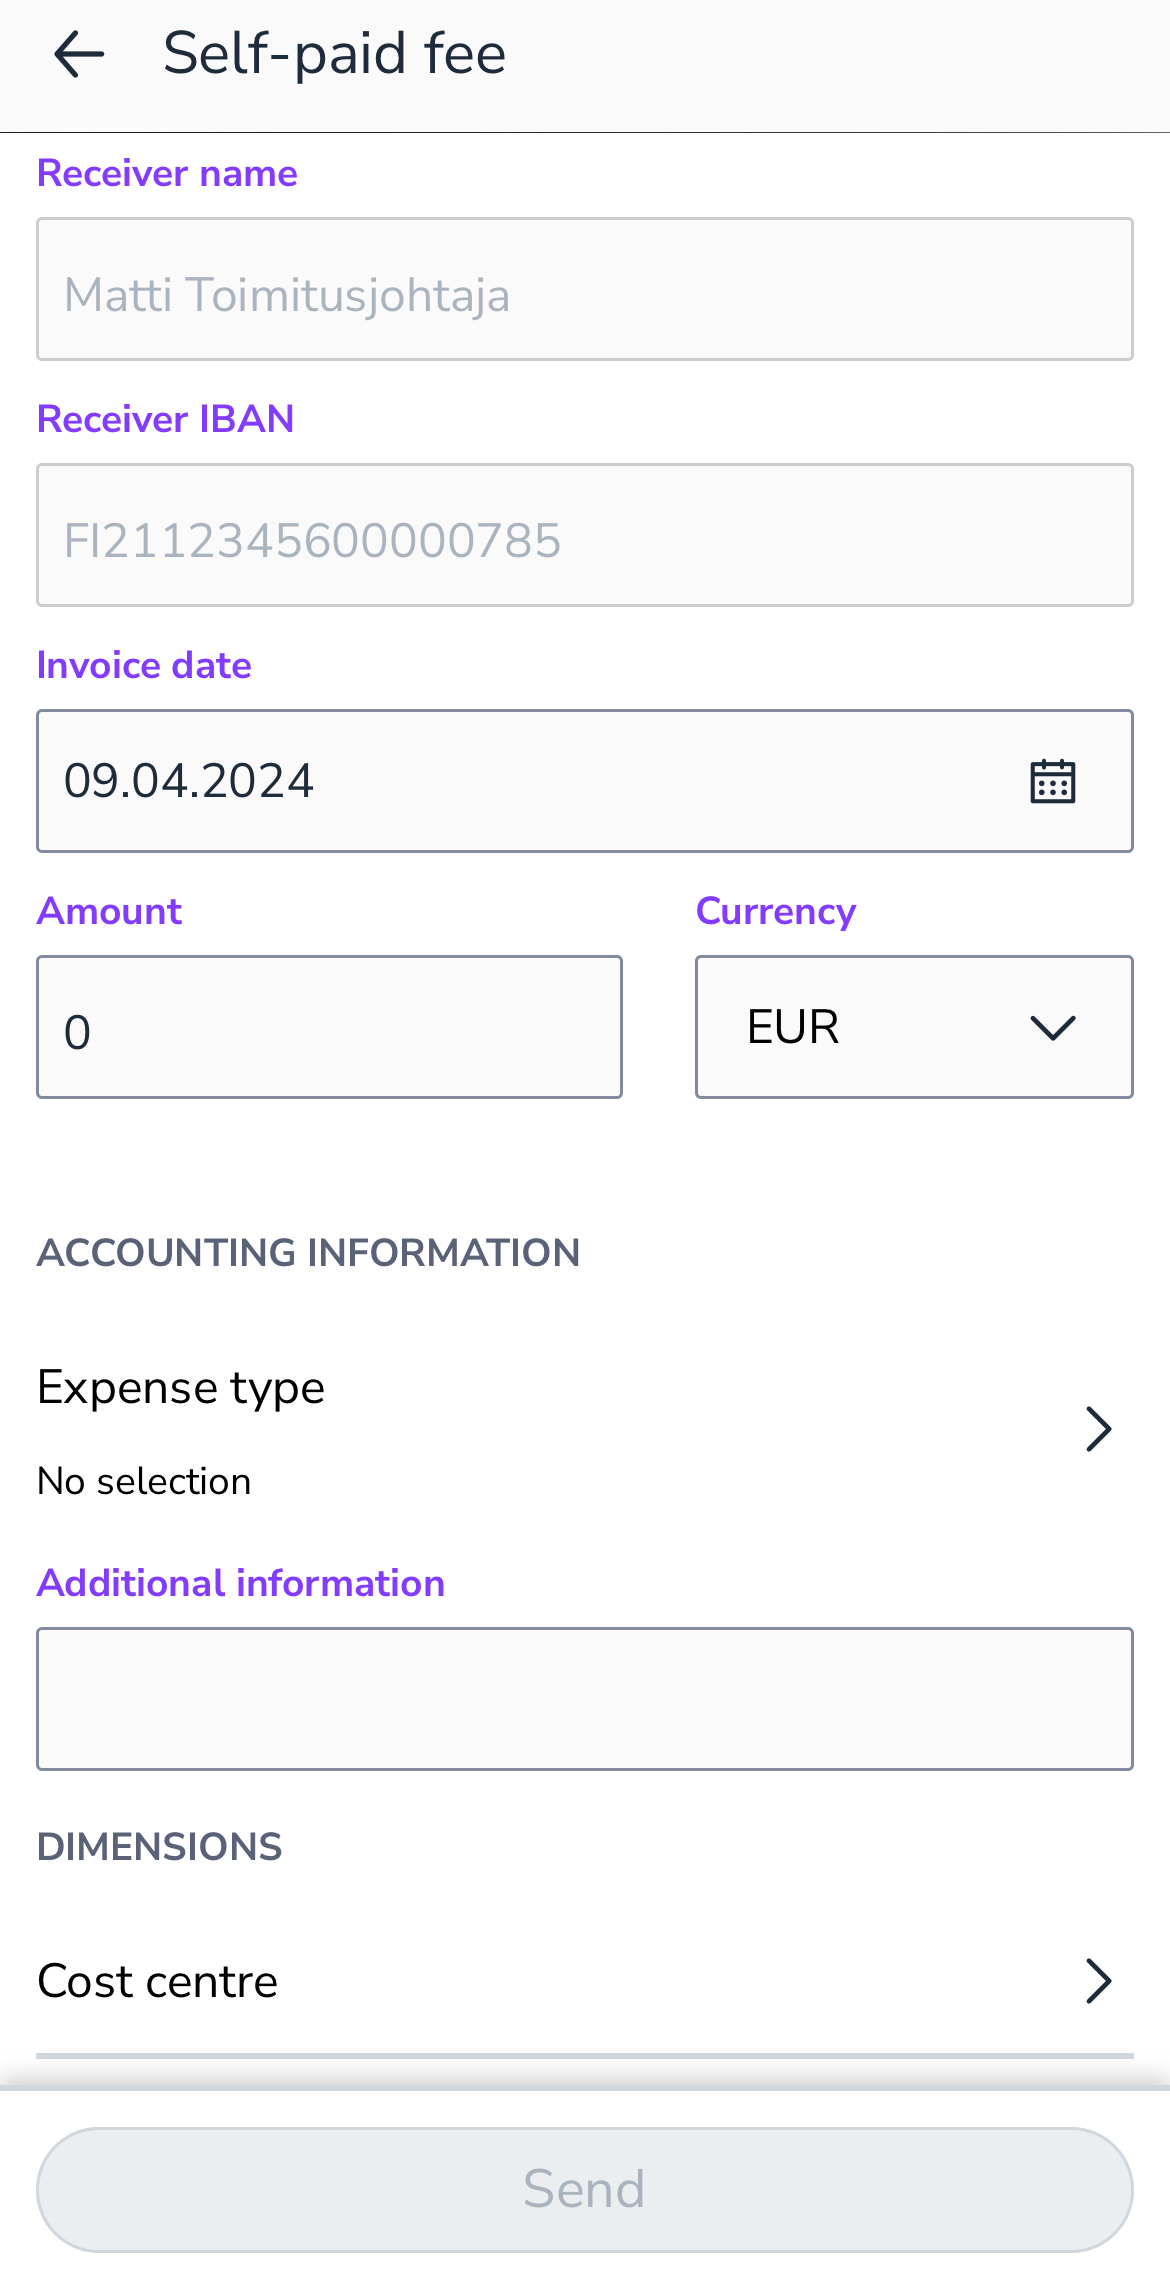
- Select either Expense type (e.g. entertainment costs or office equipment) or write a description in the Additional information field.
- Add dimensions (optional).
- Send the receipt. The self-paid purchase is transferred to payments for review/approval according to the invoice approval settings.
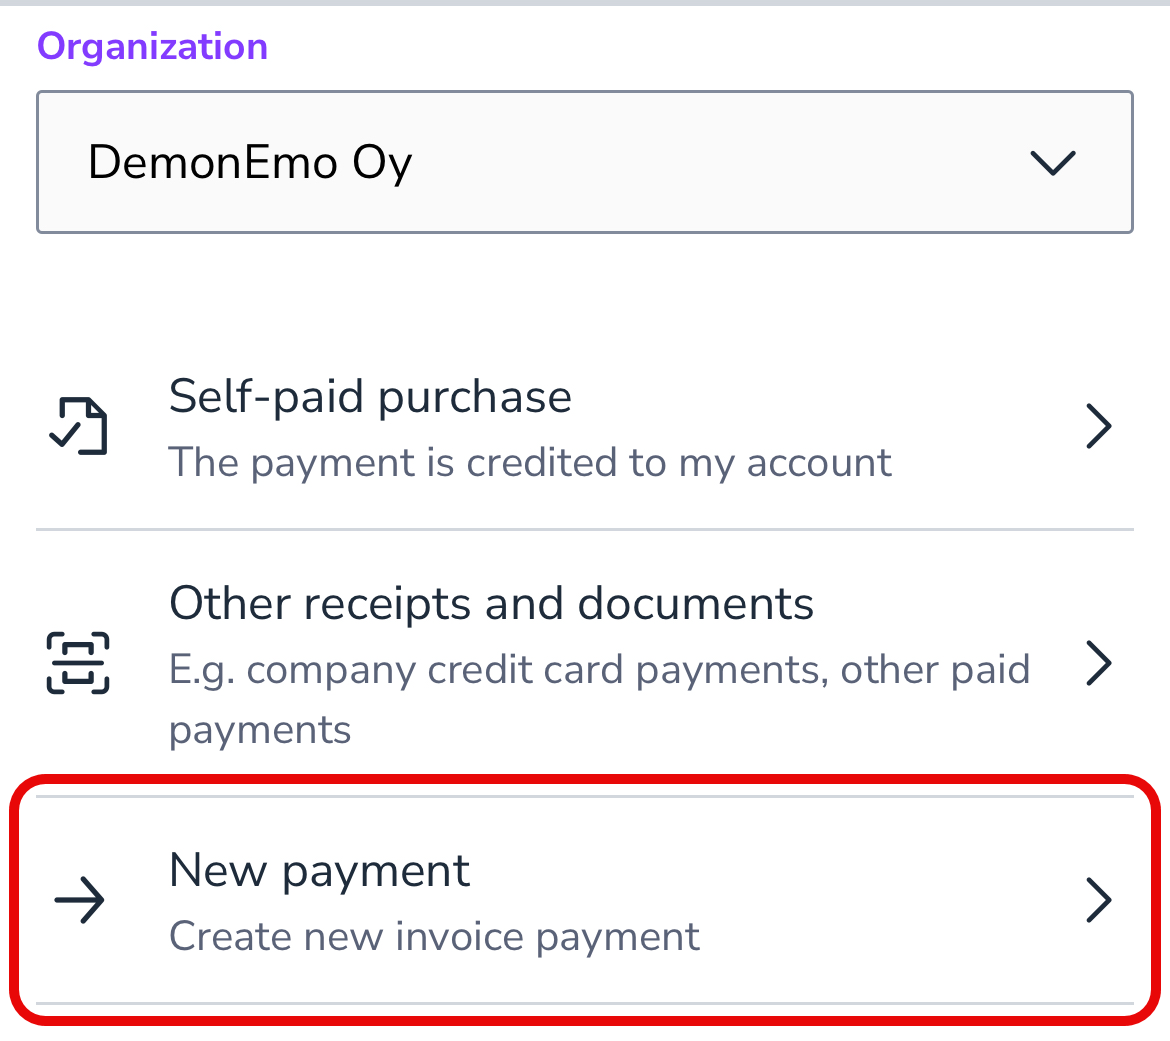
New payment
The New payment feature is available if you have the right to create new invoices. If you have only posting rights in Easor App, you cannot create new purchase invoices in the mobile application.
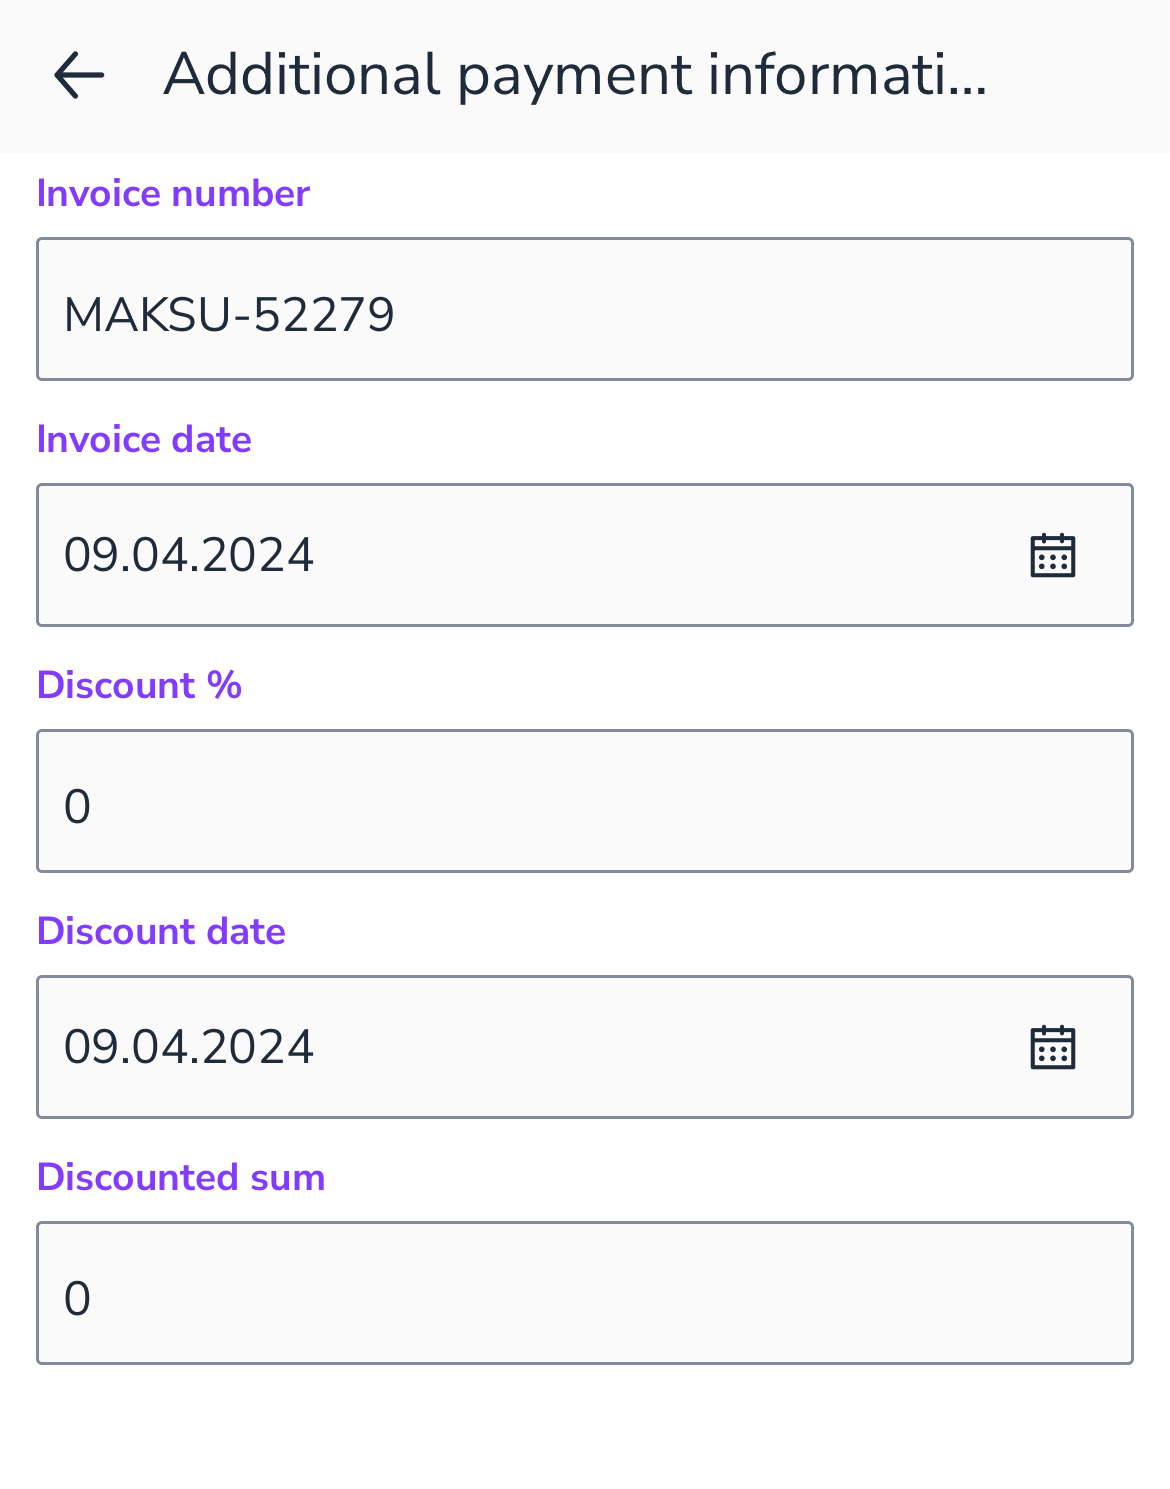
The application generates an invoice number in format MAKSU-xxxxxx. The invoice number can be changed if desired.
- After you have uploaded the image or file, select New payment as the material type.
- Check the invoice details, such as the vendor, account number, amount, and due date.
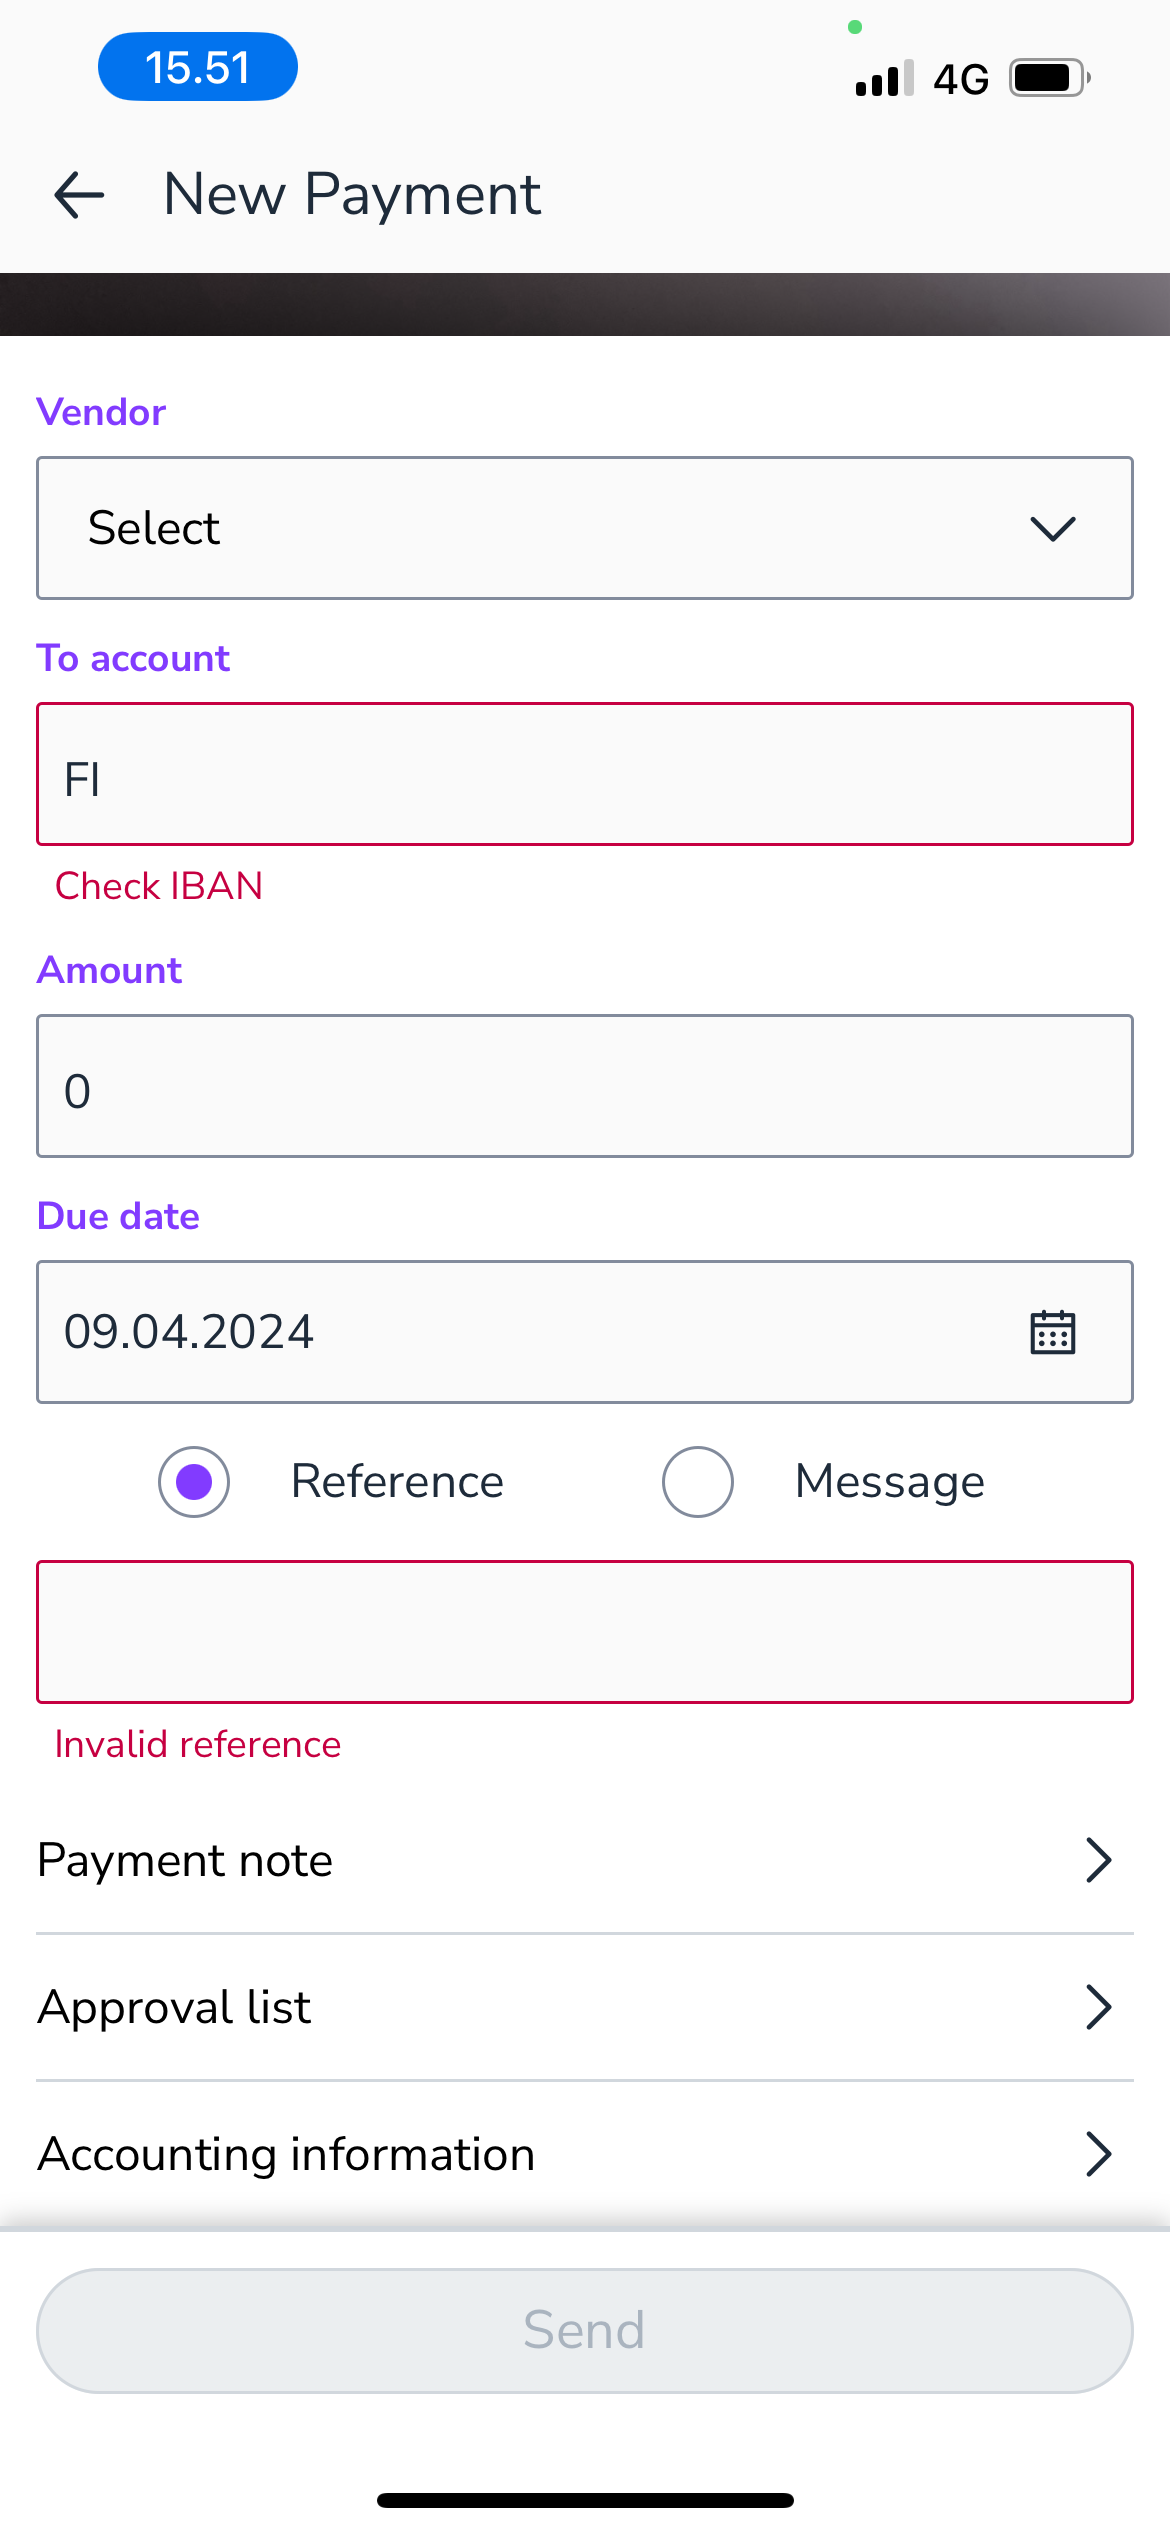
- If the invoice does not have a reference number, write a message for the invoice.
- In the Approval list section, you can change the approval list. By default, the approval list is selected according to the invoice payment approval rules.
- From the Payment note section, you can edit the purchase invoice information, such as the invoice date, cash discount percentage, and cash discount date.
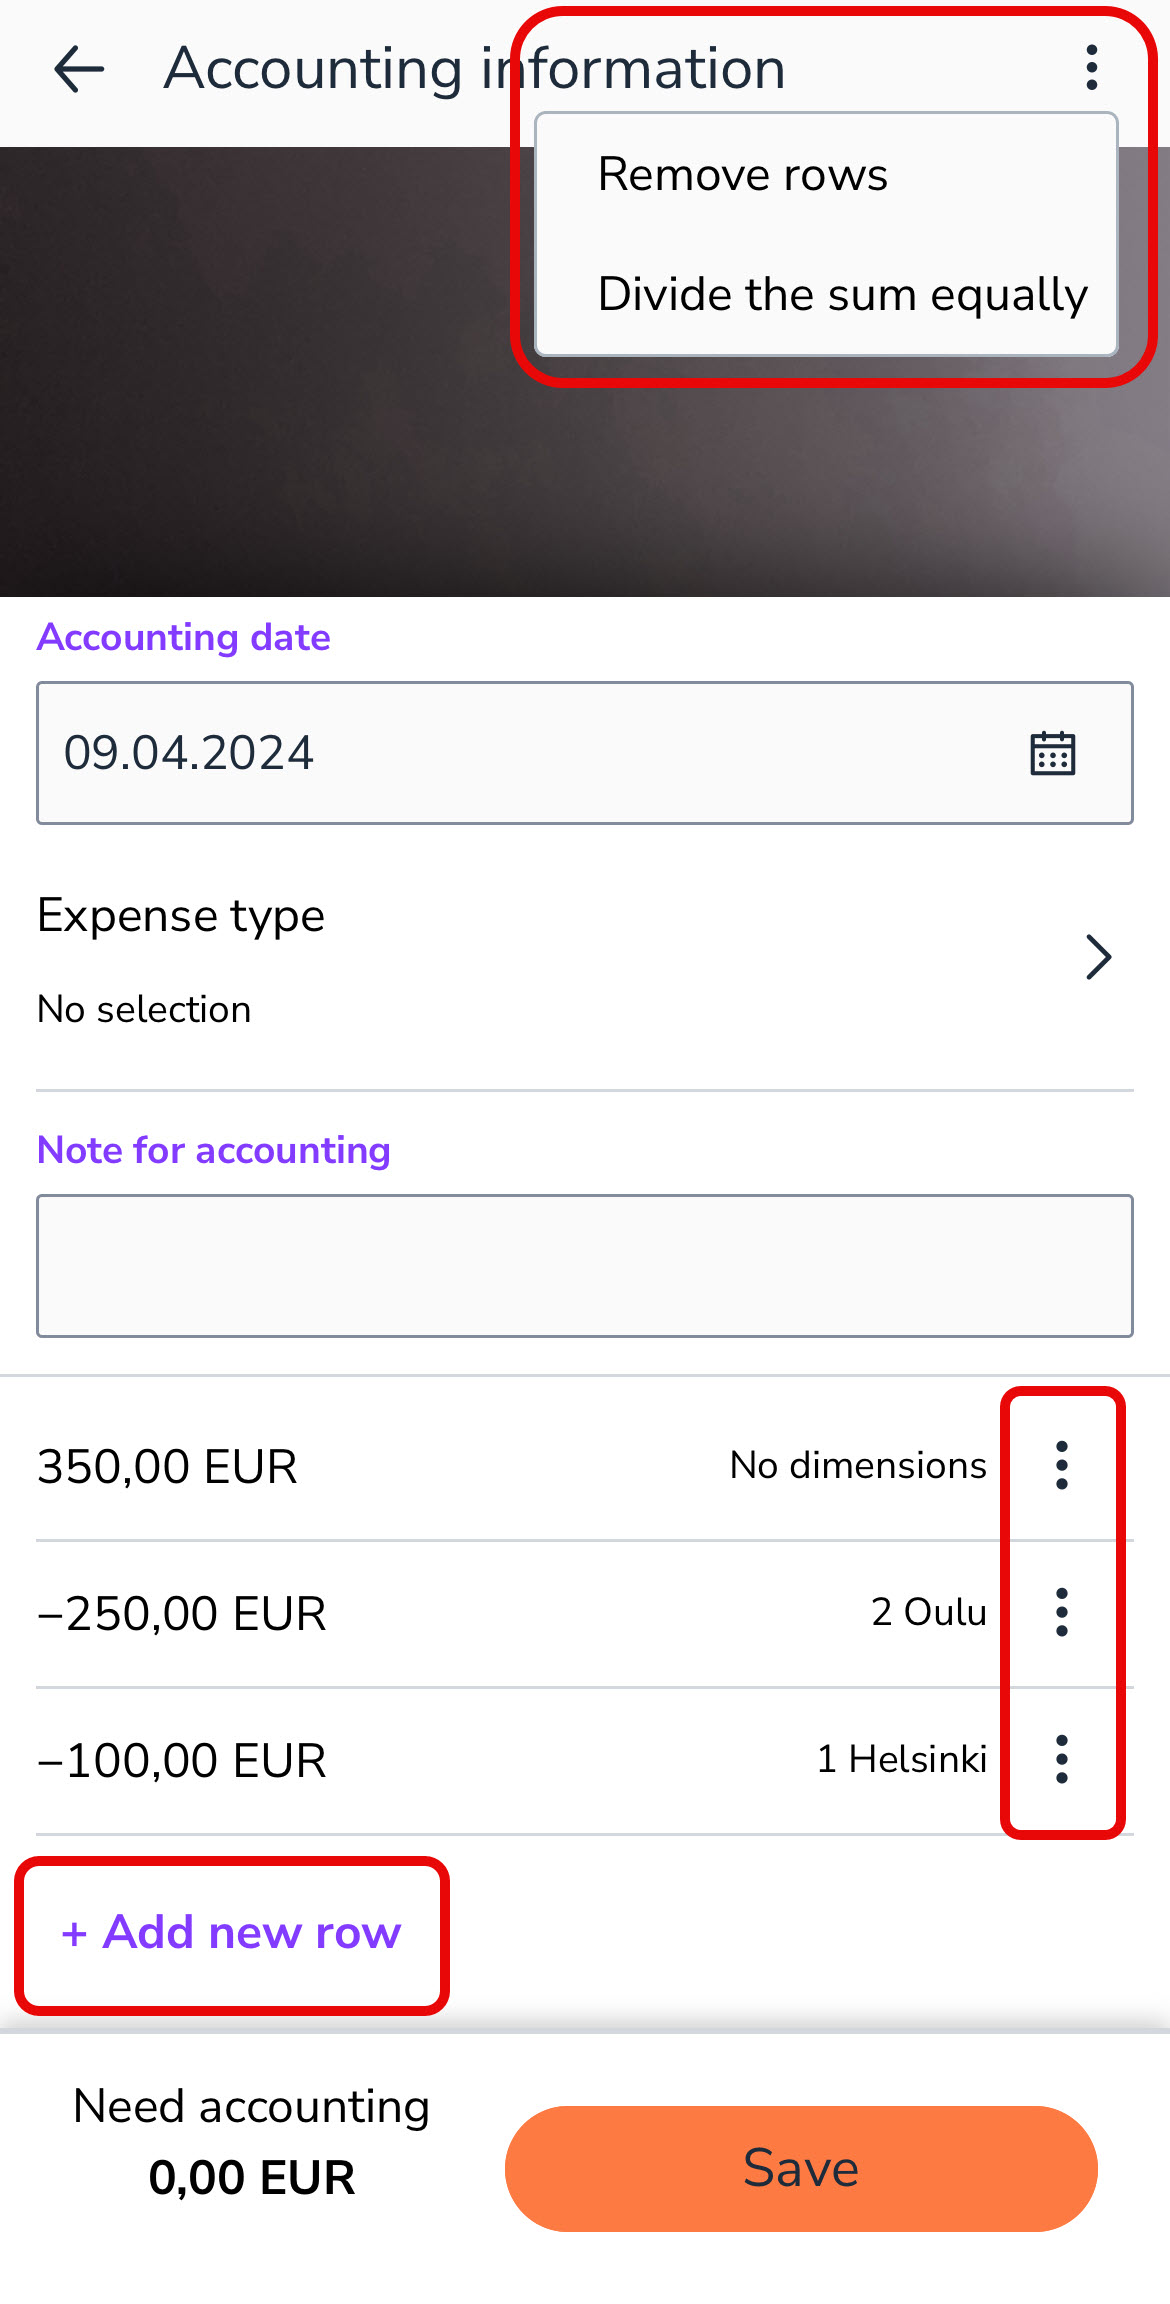
- Set dimensions (optional) or write additional information in the Accounting information section.
- The invoice amount can be divided between several dimensions by selecting + Split invoice rows.
- When the purchase invoice is divided on several rows, there are three dots at the end of the row. Pressing the three dots opens a menu where you can add a new posting row or delete a row. In the upper right corner, there are three dots where you can delete all rows, returning the invoice to one row or dividing the amount evenly among all rows.
- Send the purchase invoice. The new payment is transferred to payments for review/approval according to the purchase invoice approval settings. If there are no reviewers on the approval list and the owner of the invoice is on the circulation list as an approver, the purchase invoice goes directly to payment and does not need to be separately approved.


