In the Products view, you can browse and search for products and add a new product to the product register.
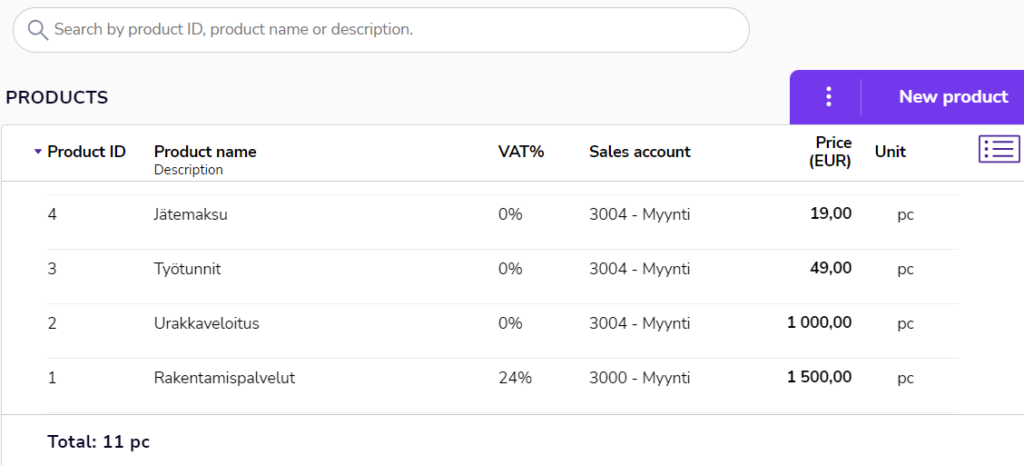
Click the product row to open a product. To remove an item, click the three dots on the left side of the row and select Delete.
In the search box, you can search for products using different search criteria. The total information at the bottom of the page indicates the number of products that match your search.
Add a new product
- To add a new product in the product register, select New product.

- Enter the product details. Mandatory information is highlighted with a red frame.
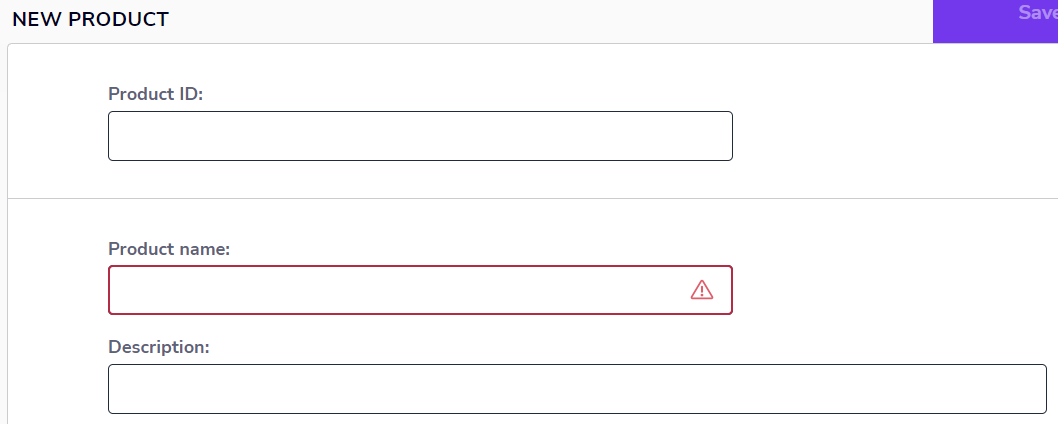
- Product ID: The maximum number of characters is 30.
- Product name: The maximum number of characters is 45.
- Description: The description appears on the invoice below the product name. The maximum number of characters is 1024.
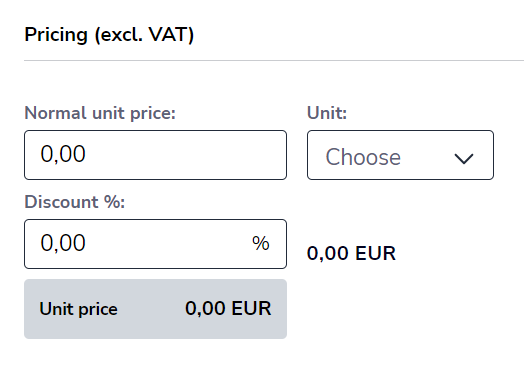
- Normal unit price: Unit price, exclusive of VAT, up to five (5) decimal places.
- Unit: Select a unit or enter it yourself (maximum number of characters is 14).
- Discount %: Discount percentage to two (2) decimal places (e.g. 2.00).
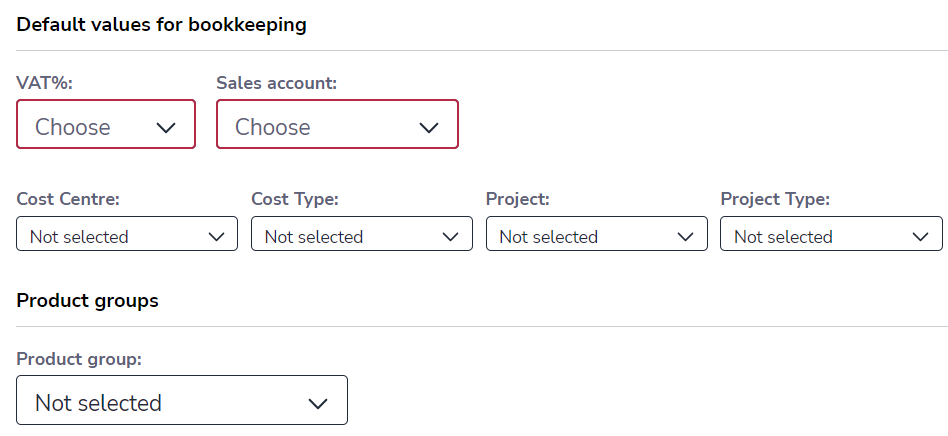
- VAT% and Sales account: After selecting the VAT percentage, only accounts that are set up in Accounts receivable with the same VAT % can be selected as the sales account.
- NOTE! If a default sales account is selected on the customer card, it is used by default for posting invoice rows.
- Dimensions: If dimensions are enabled, you can select the cost center, cost type, project, and project type for the product to be used by default when the product is added on an invoice.
- NOTE! If dimensions are defined on the customer card, they are used by default for posting invoice rows.
- Product group: Each product can be associated with one product group.
- Finally, select Save to add the product in the product register.
Import product register
You can import a product register with an Excel file.
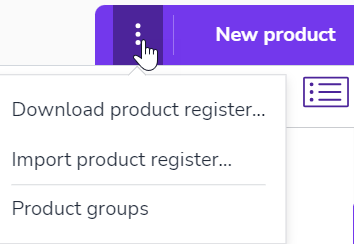
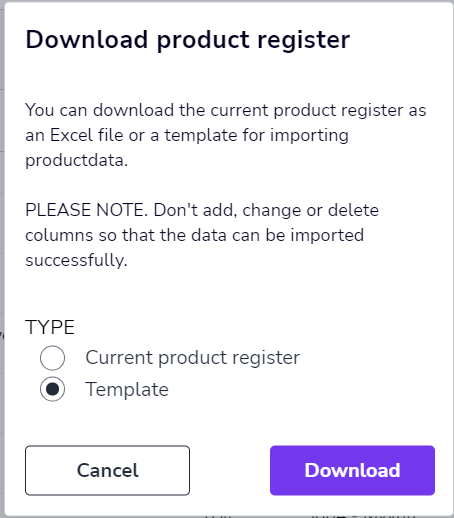
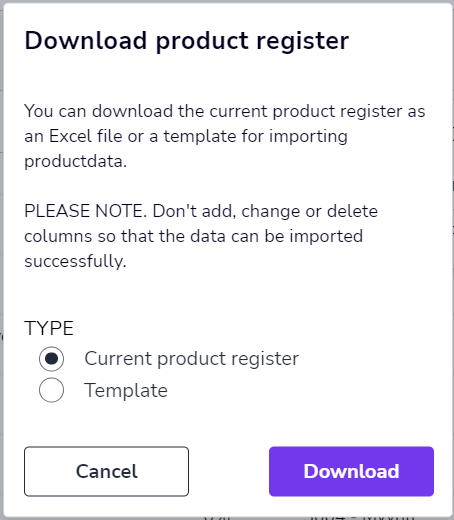
- Download the file template by selecting Download product register from the three-dot menu.
- Select Template and Download.
- Fill in the product information in Excel. Columns marked in red are required fields. Hover over the column header to see instructions for that field.

- After filling in the product information in Excel, select Import product register from the three-dot menu and select the Excel file you filled in.
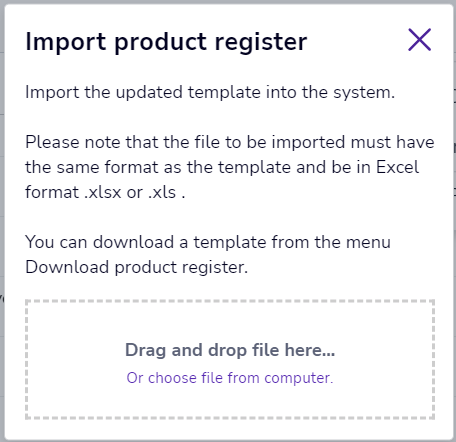
- The program imports the products to the register. If there are any errors in the file, the program indicates the lines and fields in the file which should be corrected.
Download product register
To download the product registry, select Download from the three-dot menu. Select Current product register and Download.
Product groups
You can use product groups to group products into larger entities and organize your product register. Product groups are company-specific.
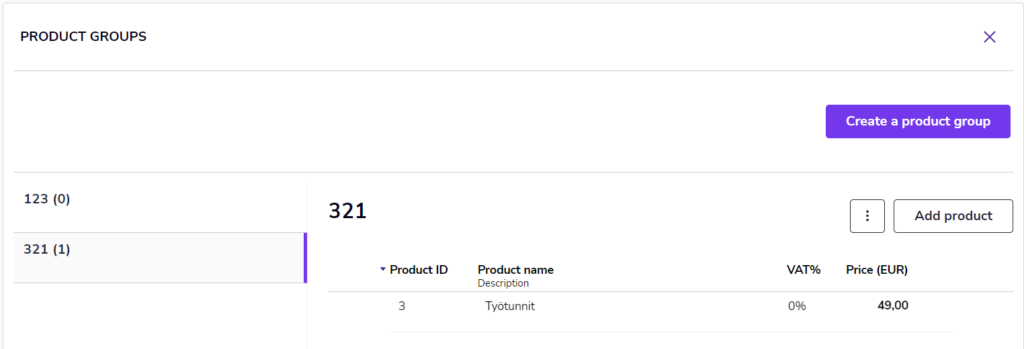
To open product groups, select Product groups from the three-dot menu.
In the Product groups view, open a product group by clicking a product group name from the menu on the left. The product name is followed by the number of products that have been added to the group.
Managing product groups
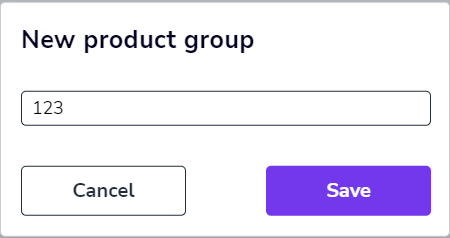
- In the Product groups view, select Create a product group.
- Enter a name for the product group (maximum number of characters 45) and click Save.
- To add products to the product group, select Add product.
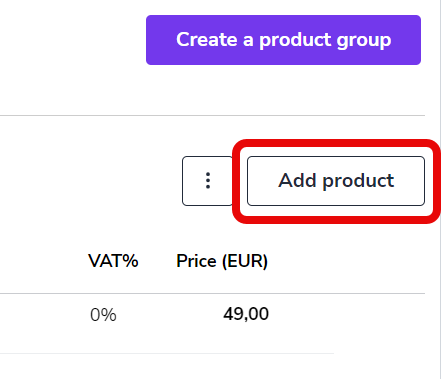
- Select the product in the product register and click Save.
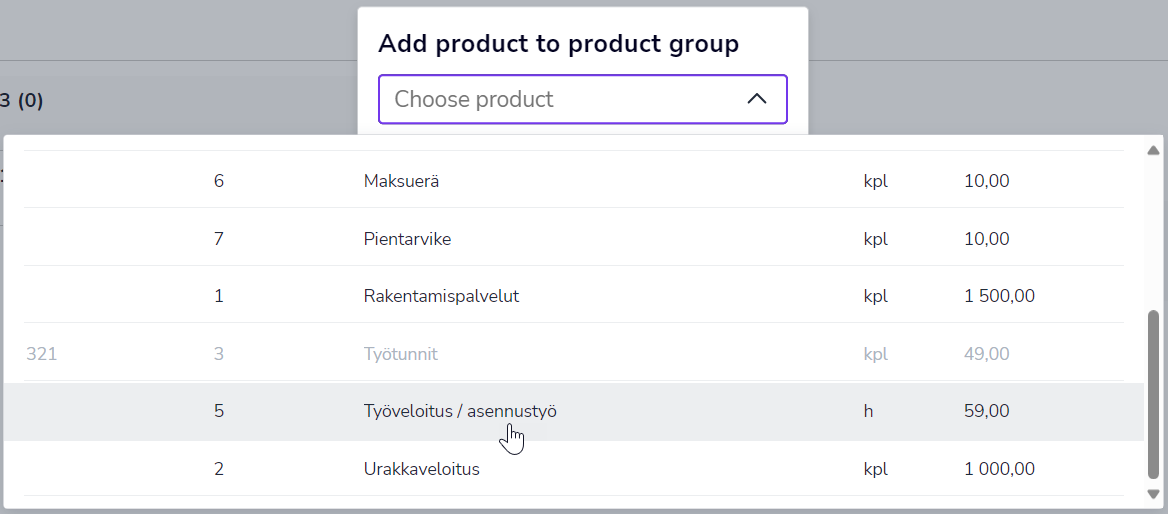
- NOTE. A product can belong to only one product group at a time. If the product is greyed out on the list, it has already been added to a product group.
- To remove a product from a product group, click the trash can icon in the product row.

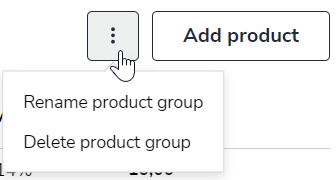
- To rename or delete a product group, select the respective command from the three-dot menu.